SHEFFIELD GARAGE PRESENTS...![]()
REPLACING BUMPER FILLERS
ON YOUR BIG ELDORADO
PART TWO...
![]()
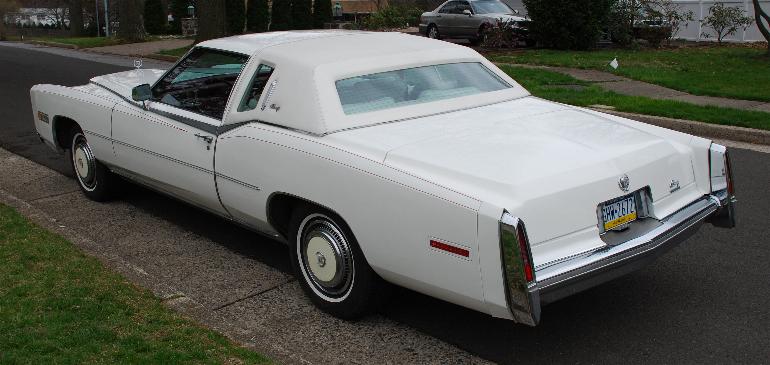
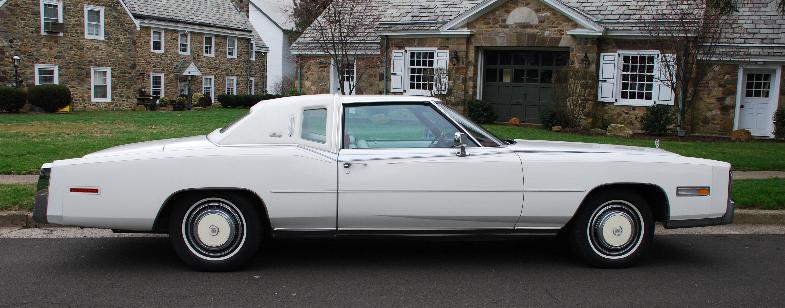
As you will recall, in part one, we started with a 1977 Eldorado in dire need of rear bumper filler replacements. The car, although being a low mileage, garage kept vehicle, had badly deteriorated rear bumper fillers. This problem was a major detraction from the overall appearance of the car. First, a decision was made on who to purchase the replacements from, which is detailed in Part 1. The installation of the two sections on either side of the fuel area (previously replaced by the original owner) opening fit relatively well, with only a little bit of modification needed to get a nice even fit with a nice line across the top of the bumper. Having these aligned, it was time to remove the quarterpanel extensions and deal with getting the new ones to line up properly. This would prove to be much more challenging than the first step.
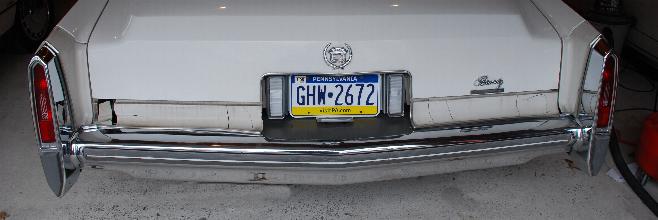
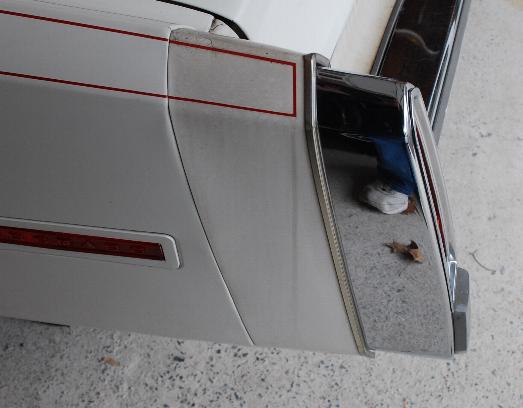
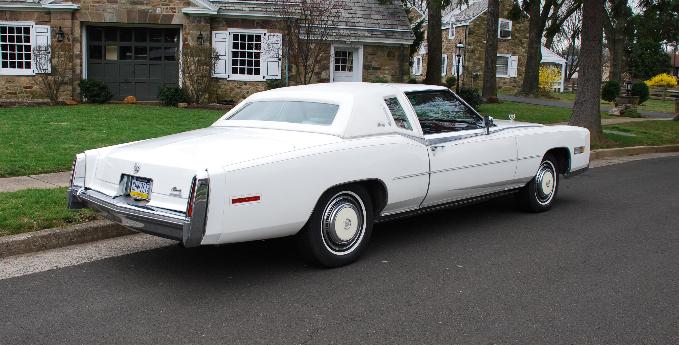
New fillers are shown, temporarily installed on the rear.
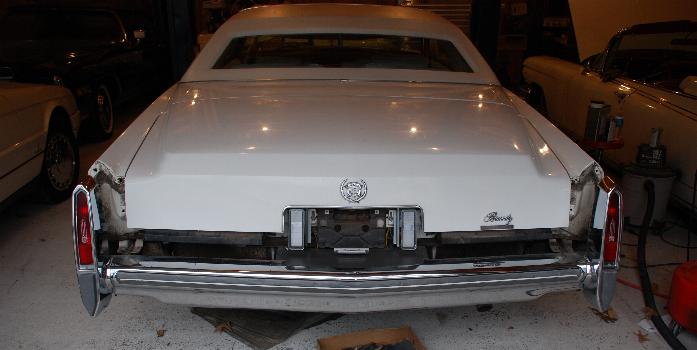
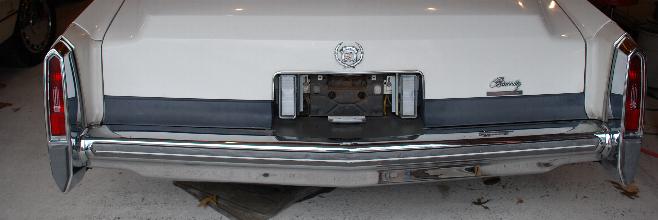
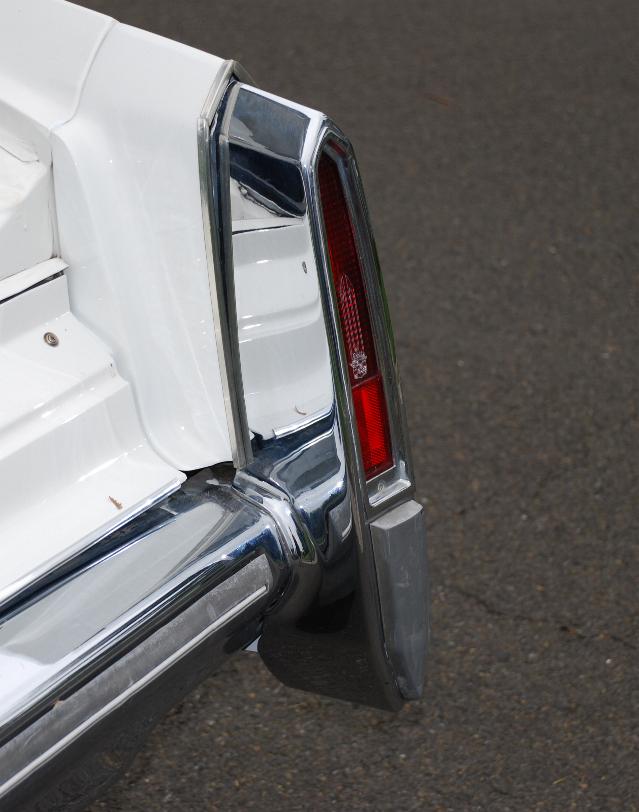
Here is a view with all of the pieces removed.
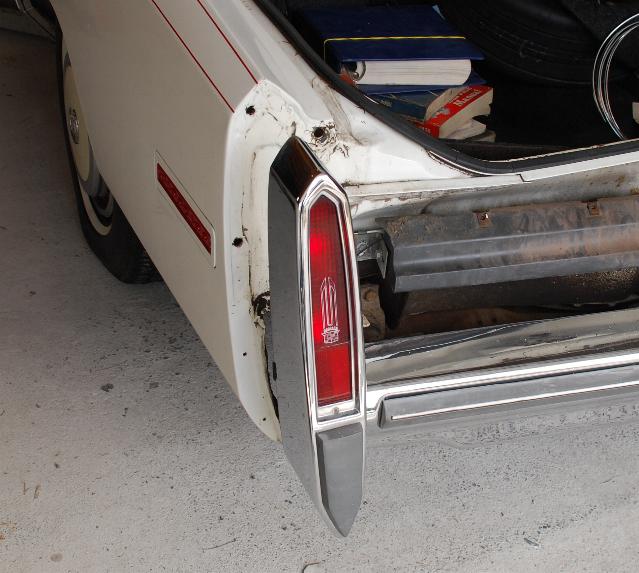
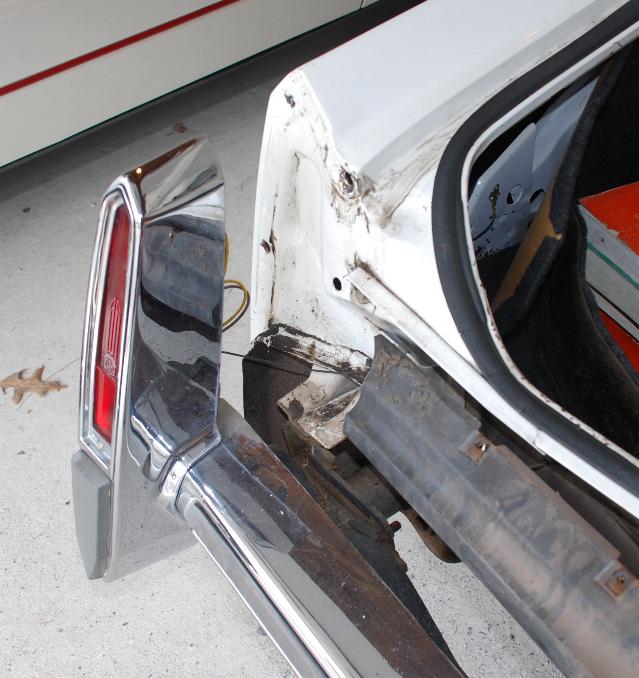
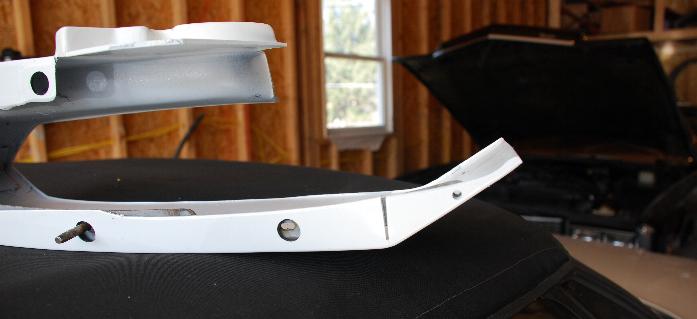
The quarter panel extensions are held in place by a two piece rigid mounting bracket that fits inside of the filler. The filler is sandwiched in between the quarter panel, and the bracket, which has studs that go into the trunk opening. There are also 2 bolts with a 1/4 in head lower down on the outside edge, accessed from under the car. A 1/4 inch deep socket and short extension is needed to remove the speed nuts inside of the trunk. These are easily accessed by moving the cardboard trunk liner aside and looking inside.
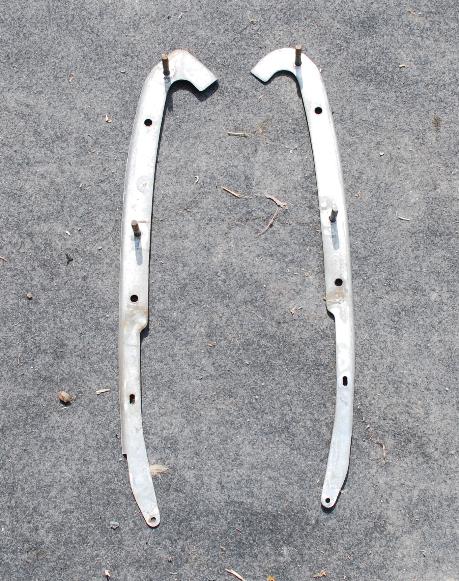
I did a test fit of these parts as well. It was hard to tell how well they will line up, because the risk of putting the chrome beading on to do a test fit just isn't worth taking. I already know that I need to tweak these parts and have removed the inside corners where they were hitting against the inside of the body. Not a big deal, this area is completely hidden when the job is done.
The repro parts have extra material globbed on the inside of the peak, presumably to add strength. It will be necessary to grind a bit of the metal braces in order to get the studs to line up with the holes. Here is an interesting tip. Take the opposite side braces, and lay them on the outside of the new part (normally they go on the inside, so flipping them allows you to see if your holes are properly drilled). I checked mine, and they look good, so my next step is to grind the brackets a little bit, get them to fit inside of the fillers properly, and then send them out for paint.
One thing that we know for sure is that the brackets from the original extensions fit the holes in the quarterpanels exactly, and that they also lined up with the holes in the original extensions. Now, the job is to get the brackets to not only fit inside of the rear of the extensions, but to be able to have them line up with the quarterpanels so that the body will line up with the new extensions.
Before sending the parts out for paint, I saw that the brackets were going to require some modification because the new parts were not made out of the same material as the originals. There was a lot of added material on the inside of the new parts, and that kept the brackets from fitting into the extension properly and sitting flat. If the brackets are not able to sit flat against the extension, when you tighten up the fasteners, the bracket will not be applying force evenly, and you may have a poor fit, or you can even crack or split the new parts.
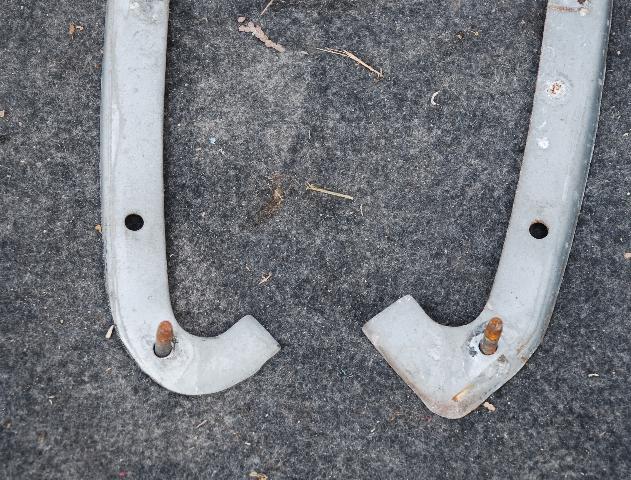
I could have taken a Dremel and tried to smooth out the inside of the new parts, but I was concerned about weakening the part. I felt that a better way to go was to grind away the areas of the brackets that interfered with getting the new parts to fit. These parts are not seen after you are finished, so I ground the brackets down on a bench grinder as shown below...
I removed material from the brackets so that they would fit into the recessed area on the quarterpanel extensions. I also had to elongate the holes in the brackets and in the extensions so that all of the mounting studs would fit through the holes in the quarterpanel, and there was enough adjustment available to be able to shift the part around a bit and get things to line up.
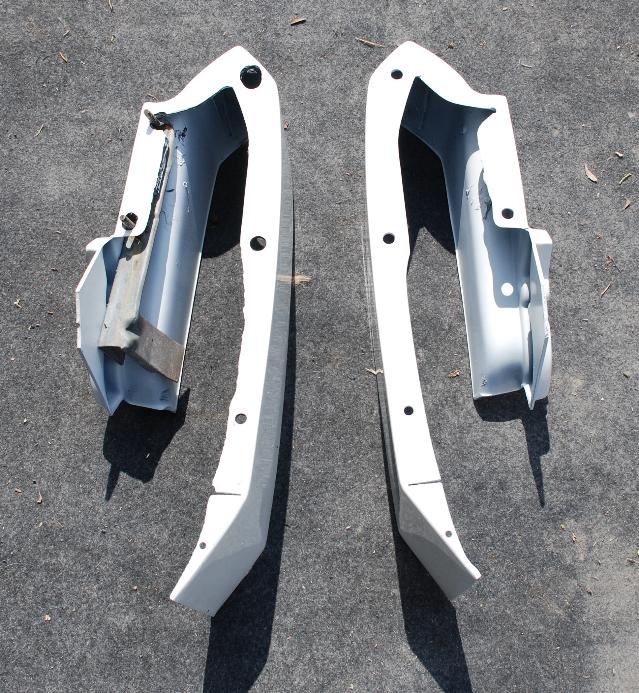
The part on the left has been modified as needed to fit the car. The one on the right is right out of the box, but has been painted to match the color of the car. A combination of grinding the inner brackets and opening up the pre-drilled holes was necessary to make the parts line up with the sheetmetal on the car. This is way more than you should have to do, but there was no way that these parts, as shipped to me, would have worked. Once painted, the total investment in making the rear of the car much more attractive was well over $500.00 (Parts and paintwork, not counting my labor).
You may be thinking, "Didn't he say you should pre-fit the parts before getting them painted"? Well, I did, but I wanted to handle the unpainted parts as little as possible so that I did not impregnate the primed parts with dirt and grease. After holding the raw parts up to the edge of the quarters, I knew they would line up, but would require modification.
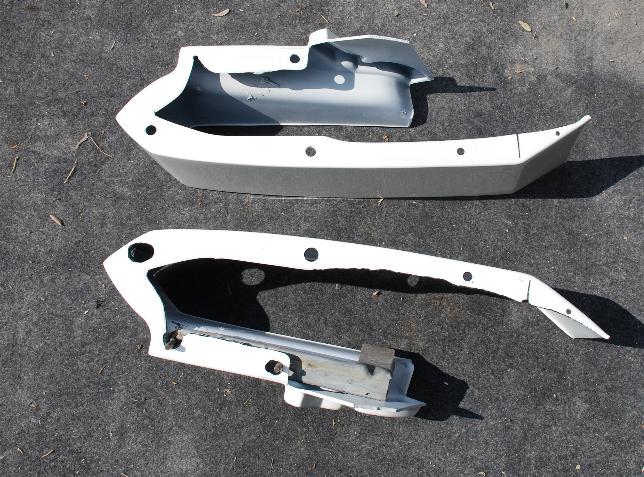
Another view of the required modifications...

After working on each side for about an hour, the brackets easily slipped inside of the new parts, which were now ready to be bolted back onto the car.
The old, on the left, and the new, on the right. The original extension was cracked on the top, not clearly visible in this photo. The chrome beading that fits on the edge of the new parts was another challenge. If you can find new ones, you will pay over $100.00 per side. I was able to get the old ones off by pouring very hot water over the edges of the removed parts. We have one of those instant hot water dispensers on the kitchen sink, so I snuck the car parts into the kitchen when my wife was not around, and used the hot water on tap to loosen things up. Due to the brittle condition of the old extensions, the beading did break in a few places, but I was able to get them to go back onto the new parts, using a very tiny bit of clear silicone to hold them on, and they looked very presentable, at least until some new pieces become available.
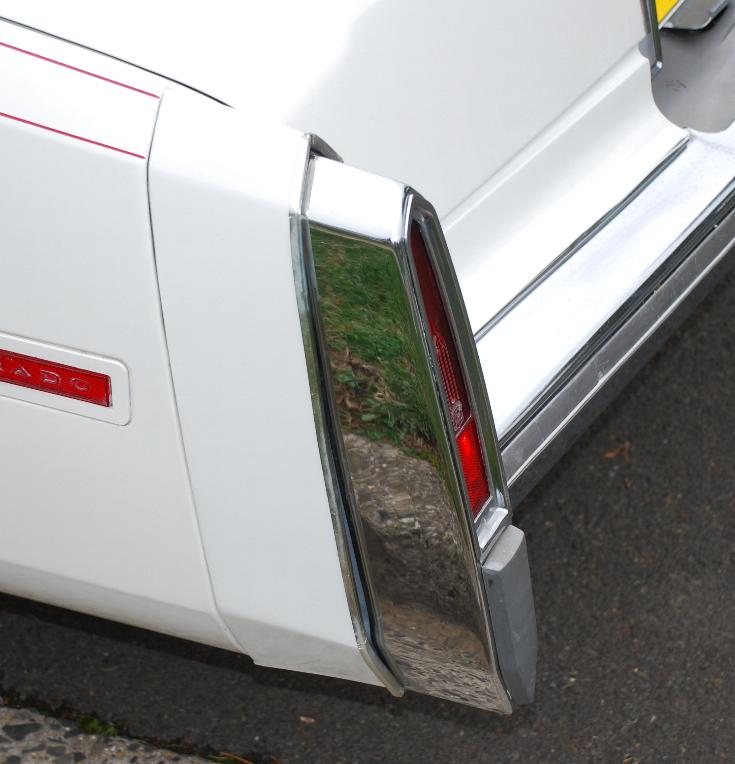
This is a lot of work, but with some time and patience, you can do this. If you can change a set of plugs, or do an oil change, you can do this. With some basic sockets, wrenches, and a couple of screwdrivers, you will be able to remove and replace these old worn out parts, and make your car look a lot better. In order to modify the parts to fit, all I used was a hand drill, and a bench grinder. Here is the final result:
![]()
Brian Rachlin, rachlin@comcast.net
Back To Sheffield Garage Homepage
Source of parts:
David Sabonjian Vintage Cadillac Parts
201-960-6612
www.antiquecadillacparts.net/cadillac-abs-bumper-fillers
Please note: I am not a professional mechanic. I am not specifically endorsing any particular vendor, there are many sources for these parts. I am merely trying to document the process of getting this problem area on many cars straightened out, and help my fellow Cadillac collectors if possible. Always use caution when working on your car, and always observe sensible safety practices.